|
For a studio painter, the thought of lugging all your gear outside and dealing with rapidly changing light and complex scenery can be a little daunting.
Although I was already reasonably competent at drawing and painting still lifes in the studio, when I first tried to paint outdoors many years ago, I was really unhappy with the results! I realised after those first few frustrating attempts, that I still had an awful lot to learn. So I decided to break this new challenge down into smaller, more achievable steps. 1. I learned what I could from books and other sources about the effect of different light, atmospheric perspective and typical value schemes of outdoor paintings. I studied the composition of landscape painting.
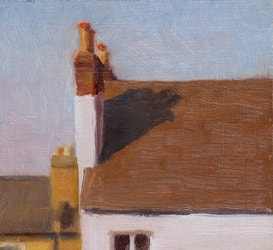
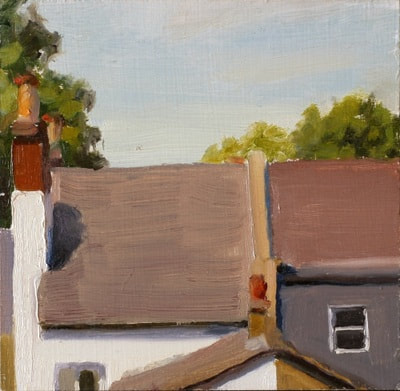
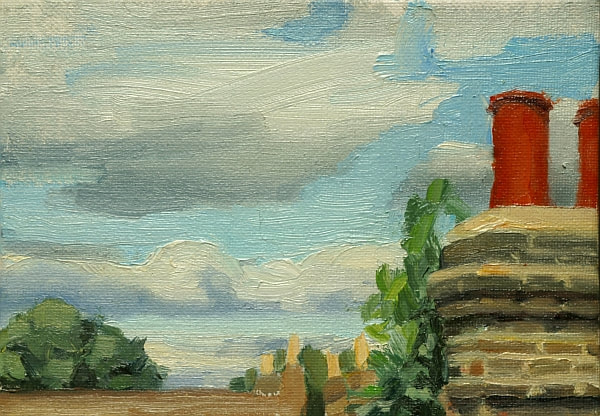
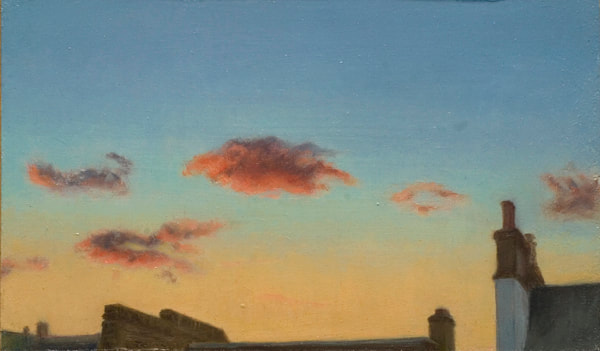
2. I painted what I could see out of my window: rooftops, chimneys, clouds and trees. I kept painting still lifes, and improving my drawing accuracy.
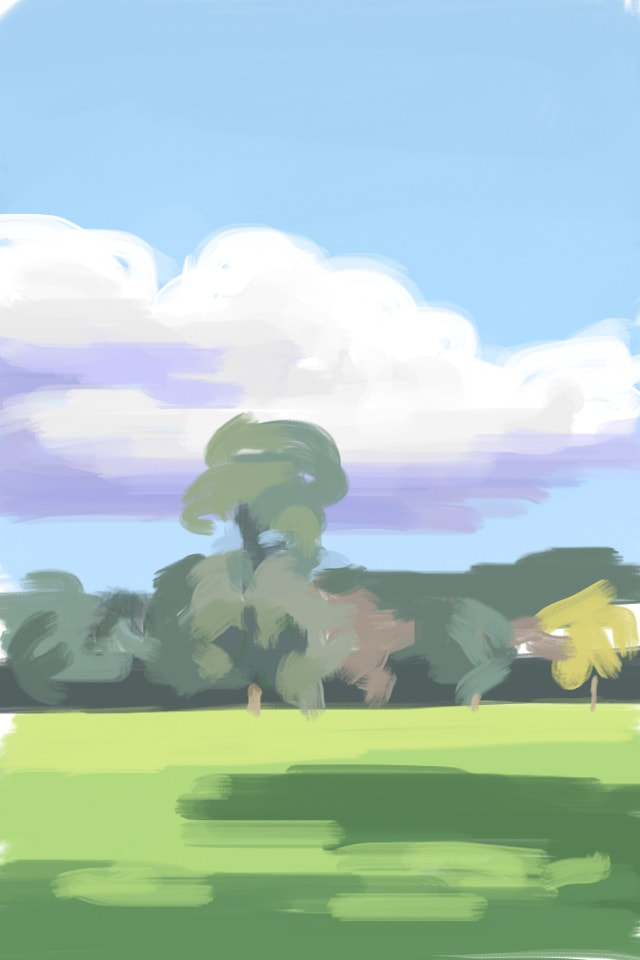
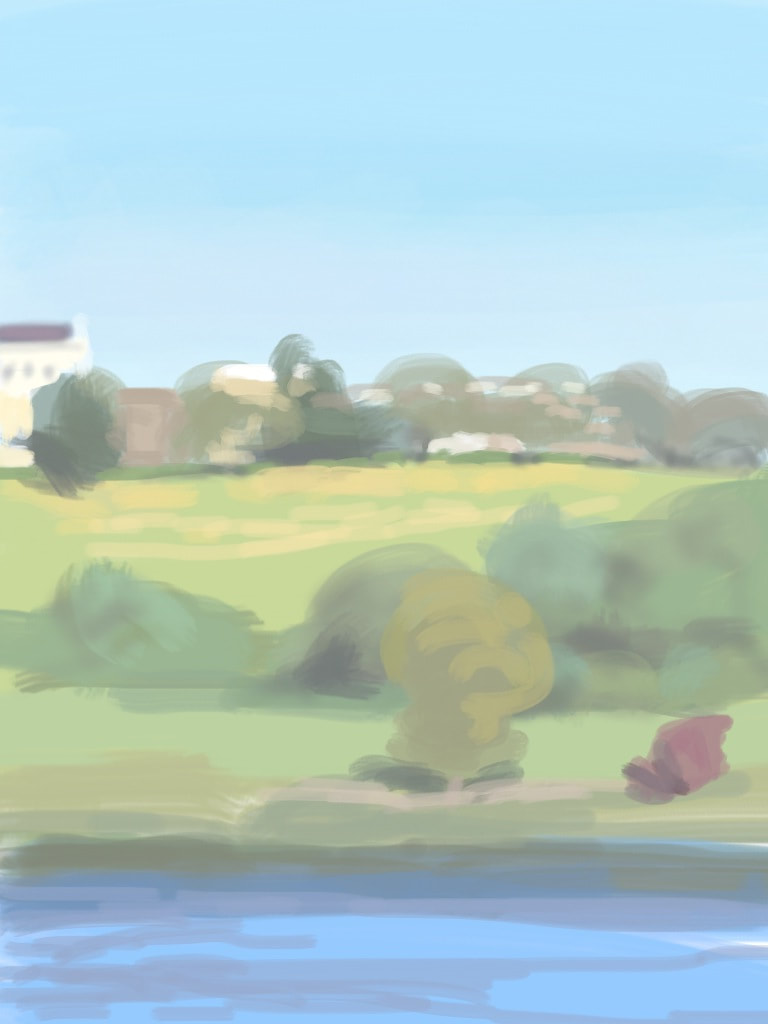
3. I went outdoors with my sketch book and made pencil drawings of trees and other landscape elements. I also made colour sketches on my phone.
4. I used what I had learned so far from these studies to improve my studio landscapes, although I was still using photographs as my main reference.
5. I built a mental checklist and rough idea of the process which I would use to complete my first plein air oil painting. I did some mental rehearsing. I knew that the big challenge in plein air painting is speed - to catch the light before it changes, so it helped to have a good idea of what order to do things in. 6. I got together a simple outdoor painting kit and practiced setting it up indoors. If you have a garden maybe you could to try it out there. I made a checklist so I wouldn't forget anything important. By this point I felt reasonably prepared, and the next step was to go out and learn on the job. For my first outing I chose a familiar spot that was neither too public nor disconcertingly quiet, and chose a simple subject on a sunny day. 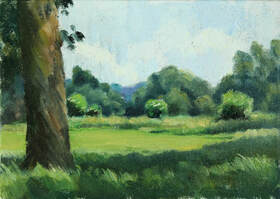
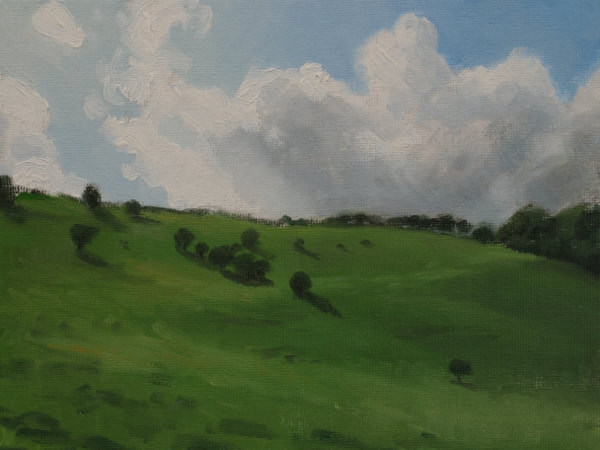
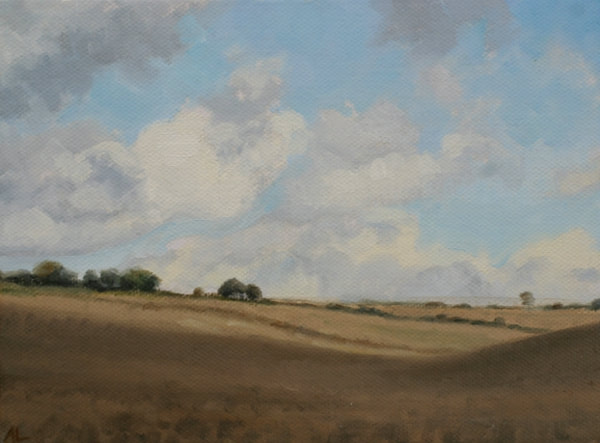
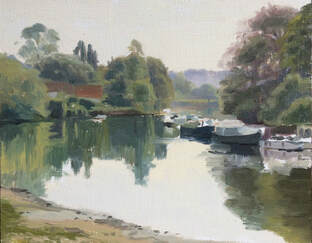
This is one of the first plein air paintings I made after returning to it once I had worked on the steps above.
I still work on steps 1-5, because I want to keep learning and improving as much as I can. 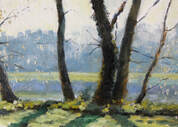
I love the exhilarating feeling of creating work outdoors, and I still enjoy the calmer pace of studio work. I'm so happy that I can now do both, and I hope this post can help you if you are planning to get outdoors to paint.
Watch out for future posts where I will break down each step further and give more information on how I went about each stage. You can sign up for updates using the form at the end of this post. I’d love to know if you have any questions or comments - what are your experiences of plein air painting? How did you get started, or are you yet to take the plunge?
4 Comments
steven piotrowski
2/5/2019 11:41:56 pm
Thanks for an interesting insight into your process. I'm a little intimidated by painting plein air. I use a lot of layering so it's not suited to the out of doors action but I'm intrigued by the immediacy ~ I may have to do some homework...
Reply
Rosemary Lewis
3/5/2019 10:57:18 pm
Yes I think it’s a good exercise, makes you think in a different way altogether than if you know you are going to layer. Although I’m sure you could use your knowledge of layering here too and add layers to a plein air start - could get some really nice effects that way. Thanks for commenting!
Reply
Rosemary I had just the same experience as you - maybe a bit over prepared but full of enthusiasms then took very similar steps - painting in the garden is such a good one - I too tried to keep things familiar to cut down the difficulties. One can see it really paid off for you. You handling of oil paint is very nice.
Reply
8/5/2019 01:11:42 pm
Hi Marilyn
Reply
Leave a Reply. |
About meI am a realist painter, working in oils, painting landscape and still life. Archives
April 2021
Categories
All
|
 RSS Feed